 Spring is here, the ground is thawing, and all the seeds and seedlings are asking to be put into the ground. The problem is how do you properly get the soil ready to receive the plants, so that they grow to be productive, easy to manage, and healthy. Well look no further, because today in our blog we will be talking about the method we use at White Oak Farm (in our home garden- no tractor section), and the variations you can take. So whether its single dig, double dig, or side fork, you will see why it is called a garden “bed” because by the end the soil will be so fluffy and nice you will want to lay down in it.
Step One: Organize your tools and supplies.


Tools that you will need: d-spade, garden or tilthing fork, garden rake, wheel barrow, compost, string gig, and string. It would be helpful to have a hori-hori or trowel, a tape measure, and a good pair of gloves, and a friend to help you dig. Also don’t forget your plants, and a copy of the book How to Grow More Vegetables by John Jeavons. It is also very important to sharpen all your tools before you start, and if they are not clean, give them a quick hit with a wire brush or some water.
Step Two: Plan out the bed shape and size.
We use a str ing jig to ensure that we will maximize the space in our garden. We built the jig out of a 2×4, two pieces of rebar, a couple of u-nails, and a lot of different shaped screws and nails (which you will see later). The jig is 48-inches long (which is the width of the bed) and the bed length is approximately 50 feet long. This is a long bed, and will allow us to plant many different types of crops in one the bed.
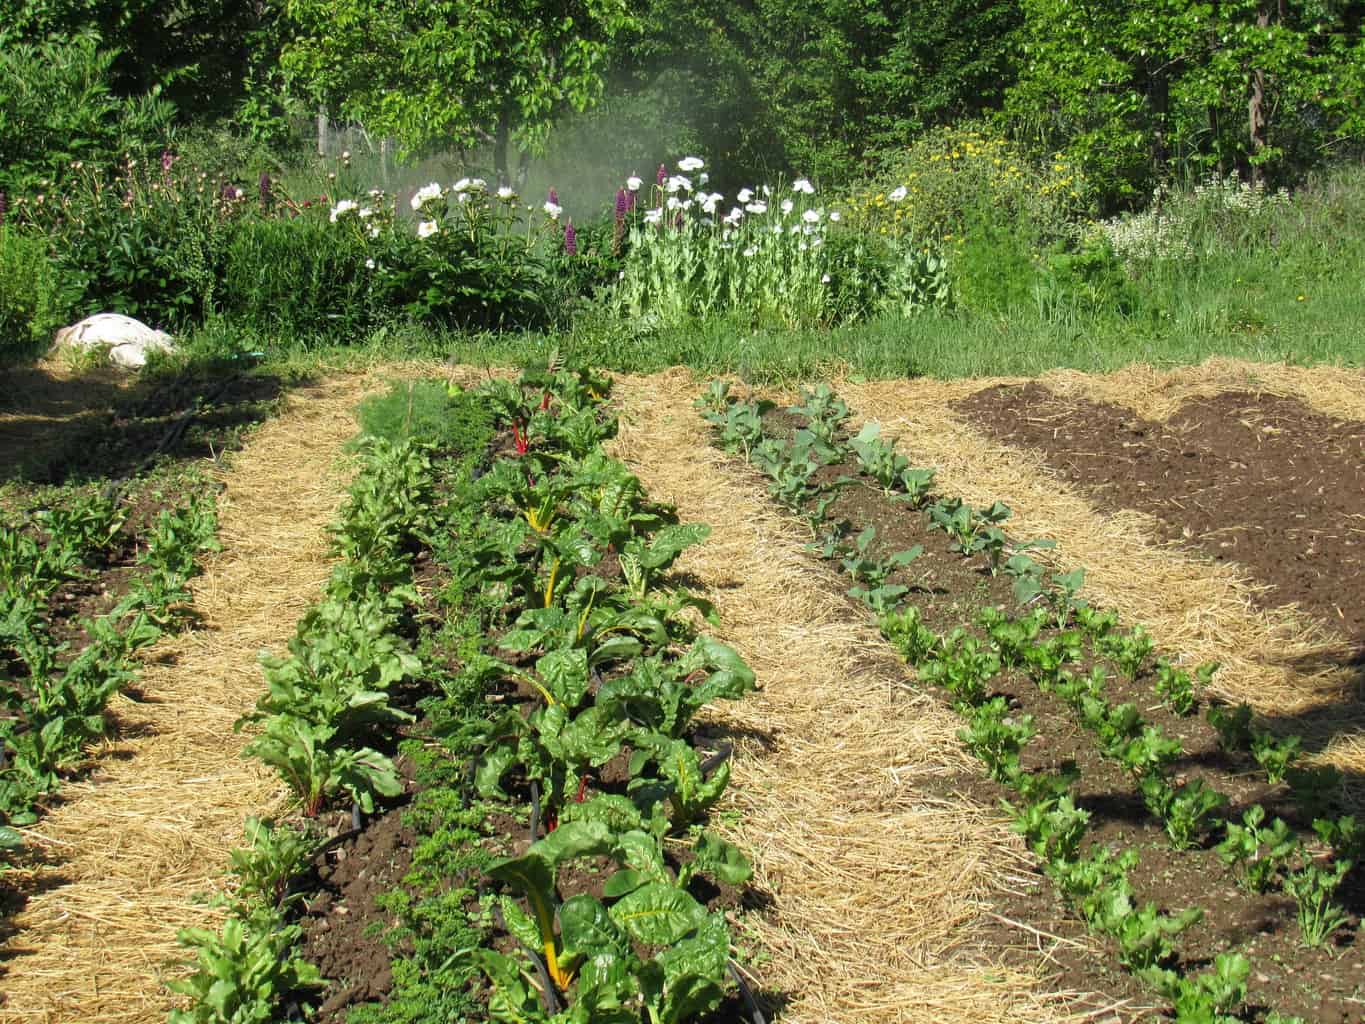
I usually leave about 12-inches in between beds to walk. This is totally up to the individual gardener, but often times a foot is not enough space to really bend over and work the beds, for many people.
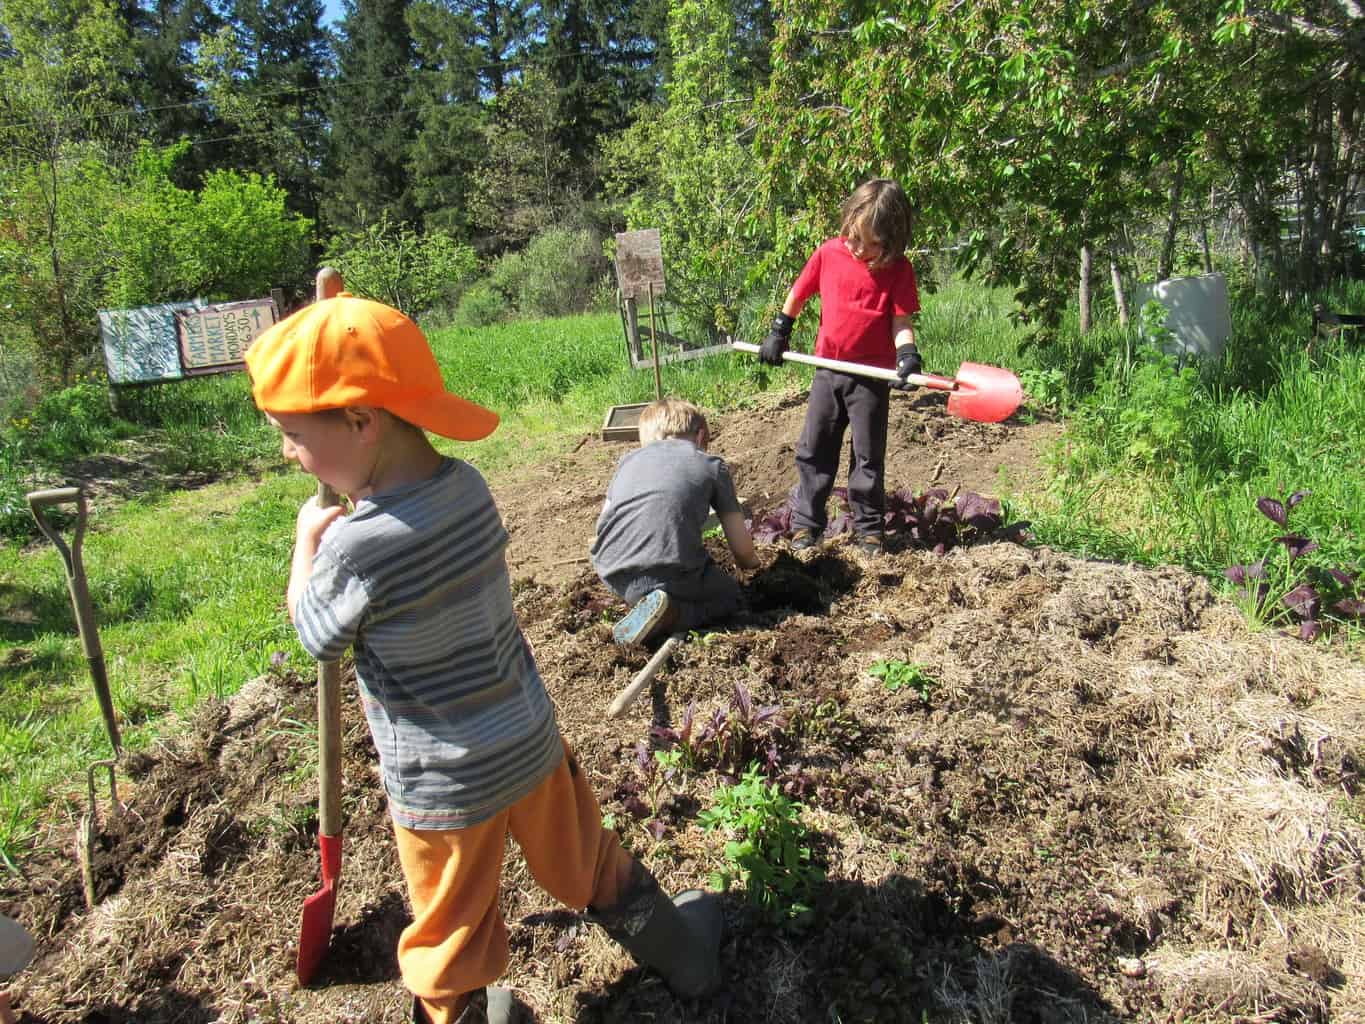
Step 3: Skim away organic matter
 We are ready to get out our tools and really start working. In this step we will be taking out all the organic matter from the soil that we are about to work. If it is a weed, last year’s crops, or even cover crop it needs to get out of the bed. We compost most weeds and all cover crops with the exception of some noxious weeds that wont die in the compost pile (i.e. bermuda grass, comfrey, oxalis, bind-weed, etc.).This is also a good time to remove stones.
When skimming it is important to note that you are not digging up roots, just skimming the organic matter away from the soil. Try and keep your spade as flat as possible and parallel to the ground, while not hurting your back and body. This is the most important thing to keep in mind during the whole process: Pay attention to your body, and listen to what it is telling you. It is so easy to hurt your back especially if you are not using the proper form.
Step 4: Rake and remove the plant matter
 This is a great time to get the wheelbarrow and fill it will all the plant matter and take it to your compost pile. You may need to skim and rake, and then skim again before the bed looks bare and is ready to dig. Rather then doing a perfect job the first time, it will go quicker to skim a couple of time.Â
This is a great time to get the wheelbarrow and fill it will all the plant matter and take it to your compost pile. You may need to skim and rake, and then skim again before the bed looks bare and is ready to dig. Rather then doing a perfect job the first time, it will go quicker to skim a couple of time. 
Step 5: Apply Compost

 Depending on how good or bad your soil is you will be adding a lot of a little bit of compost. It is always a good idea to add compost on the first dig of the year. Our soil is high in organic matter, and all of the essential nutrients, but it is thick, hard clay. Compost will help add air/pore space to the soil as well as organic matter. There is never a reason not to add compost, unless you don’t have any. Compost helps improve every aspect of your soil quality.
We only added one barrel full for the 50 ft. bed, but we would have like to do 2 loads. By the time we sprinkled a layer on top of the bare bed, it looked like a fine mist.
Step 6: Edge the Bed
 In order to ensure that the entire bed gets dug and aerated it is a good idea to take your spade and dig directly beneath the string. This is called edged the bed. Keep in mind that you are not actually digging, but just creating a line, and slightly rocking the spade back and forth before you dig.
Step 7: Dig a trench
You are now ready to start your diggin’. It doesnt matter which end of the bed you start on, although if you have a slope I would start at the top, rather than the bottom. 
You want to create a trench. The length of the trench will be the width of the bed, by one foot deep, and one foot wide. You will remove this soil and put it in a wheelbarrow. The amount of soil you remove will usually be about a 3/4 full ‘barrow.  Take this wheelbarrow of soil and move it to the other end of the bed. You will fill in the gap at the end with this soil.
Step 8: Dig, Dig, Dig!


The digging motion above you will repeat about 10,000 times over the next hour of digging. To explain in more detail you are using your spade to take a chunk of soil and move it into project it forward into the trench. My mentor Orin Martin, used to always say, the bigger the chunk and the higher the toss the more loft your bed will get. So if you take a small chunk and just push it forward your bed will not be raised very high, but if you take a huge chunk of soil and throw it in the air you can get a bed raised 4 to 6 inches.
Also a good digger will not invert the soil. Try to keep the layers in tact when moving the soil forward. You do not want your top soil buried a foot deep and your hard pan clay on top. This is extremely hard to do but you are about to have lots of time to practice not inverting the soil layers.
Step 9: Tilth
You mwill notice that the digging you have done is making the ball into dirt clumps and you are getting big chunks that are not breaking apart when you throw it. This will always happen, but will happen to a larger degree if the soil is heavy clay. If the clumps are really sticking and hard to break up it is a good indication that the soil is/was too wet to be digging. Yesterday our soil was too wet, but it was the only day we good get in and plant, so we went ahead and dug anyways. This meant that we needed to use our fork more than we like to.
 The action is basically slamming your fork down onto the bed and aiming for the dirt clumps. You are not digging but patting the top of the soil. This action should pulverize the soil clumps into smaller aggregates. (during the next step of raking you can also use your rake to break up clumps.
note: This is a good time to mention that soil you have dug is now sacred soil. Never to be walked on until the next time you dig. It is always good practice to not step on beds, unless you are digging, but it is a sin to step on a freshly dug bed. This rule was quickly broken by our cat dillybean.
Step 10: Raking, Shaping, and Berming
 My personal favorite thing to do is raking, it is very relaxing and calming after the digging and tilthing process. While raking your objective is to create a perfect flat surface with small aggregates to plant your seeds and seedlings into. Use both sides of the rake to move the soil and “chop” the soil with the rake to break up the bigger chunks of dirt.
The bed will quickly begin to look smooth and comfortable. Avoid hills and valleys in the bed and get the soil looking really flat. As seen by the picture to the left you can pull the soil past the string, and then flip the rake over and hit the soil to create a berm. A good bed should have a ledge. Picture a perfect plateau.
By now you will be want to take a long nap. This is a fairly good stopping point for a days work, and you can easily come back tomorrow. But we pressed on to the planting because we knew rain was coming and we wanted to get the plants into the soil.
Step 11: Plant Spacing
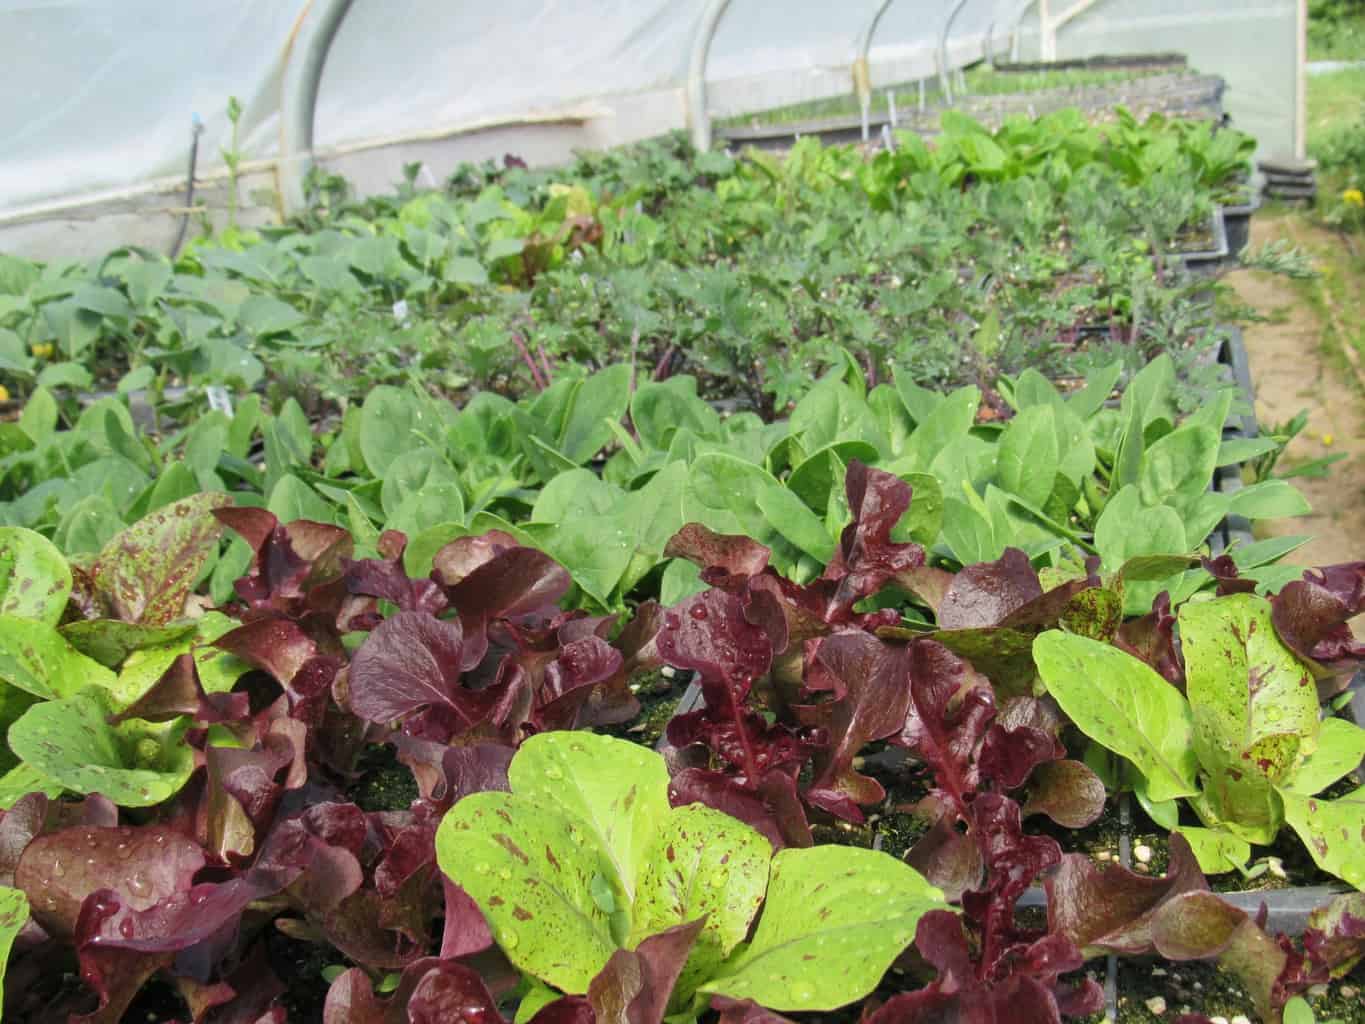
 This is where your copy of How to Grow More Vegetables comes in handy. We were planting spinach and lettuce for cutting yesterday, so we were able to use the same spacing between plants in our bed… 6 inches. We used our string jib to create string lines that were 6-inches apart.
This is a pretty good look at our jig, with unique looking nails that are spaced at a certain distance from each other. This allows you to quickly use the maximum amount of space in the bed.
Here is a look from above.
Step 12: Dibble Holes
 We did not have a dibbler yesterday, so we had to measure 6-inches beneath each string so we knew that the plants would have the proper spacing in the rows. There are very few good examples of a dibbler online, so I am making it a goal of mine to built a good one and blog about it. They are handy tools to quickly allow you to get in-row spacing and poke holes in the ground.
There is no need to dibble if you are direct sowing, if you are direct seeding you should look into buying an earthways or plantet jr. direct seeder. The look like little bike you push. A must have for any savvy gardener.
Step 13: Plant!
 Get those seedlings into the ground. Mind your back, and your knees, and your bed. (This is a good time to find your Hori-Hori and use it). Don’t bury the growing tip of the plant. It is smart to pat down the ground around the seedling. I like to think about “tucking the plant into bed.” Be firm yet gentle.
Step 14: Water
Yesterday the rain did this for us, but after transplanting it is smart not to give the plants the stress of not having enough water. If the soil was too dry too be digging, then this is even more important. During the summer we will be pre-irrigating our beds in preparation for digging and planting. I did not mention above, but before starting it is a good idea to check soil moister. You want to dig when the soil moister is between 50-80% of its carrying capacity. We dug yesterday at near 100%
Step 15: Clean up
Respect yourself, your garden crew, your tools, and the garden gods. Don’t ever leave tools out, and always take the time to clean off the soil with a wire brush or hose. Get a file and sharpen your spades and shovels, and wrap up the string. Remay, agrobon, or floating row cover will protect your plants from the frost, pests, and other garden problems.
Happy digging you spring chickens, and enjoy the getting your hands in the soil.